
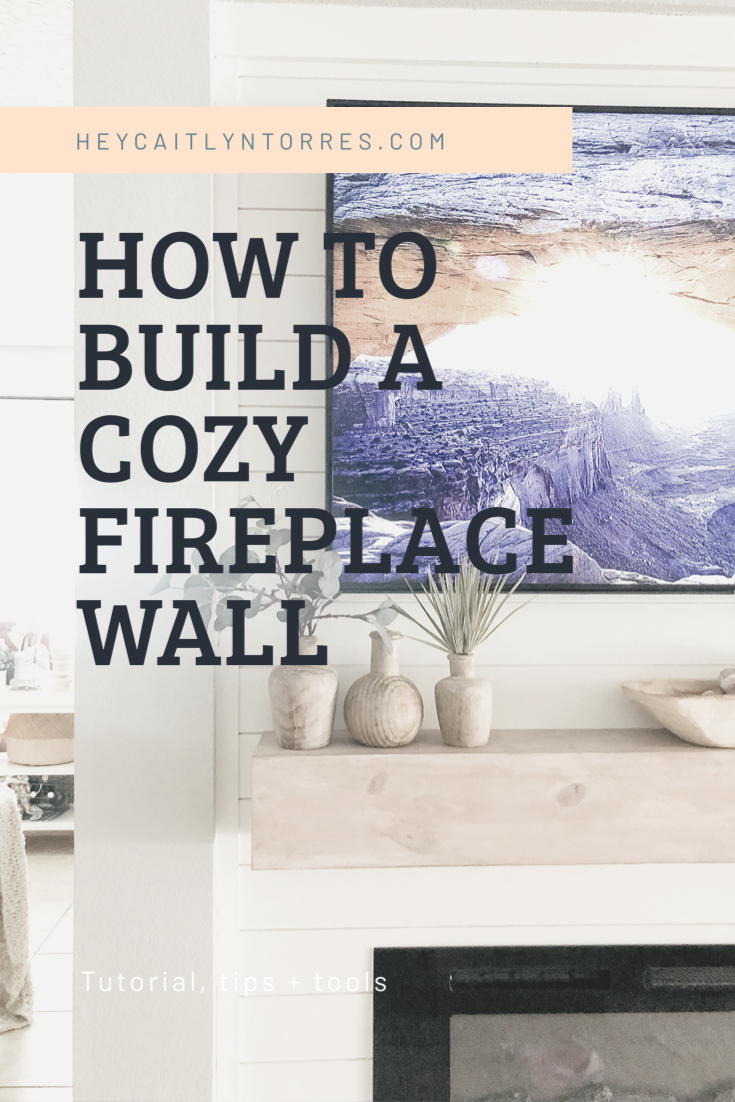
Build a Cozy Modern Fireplace Wall
- Caitlyn Torres

- Apr 29, 2020
- 3 min read
Somehow I convinced my husband that we needed a fireplace! After planning it all out, measurements and all we decided to tackle the project head on and start NOW.
My original plans were to only shiplap half of the wall because our existing wall had faux shiplap on it already and that way we wouldn’t have to make the wall sturdy enough to hold our wall mounted TV. In the middle of our trip to Lowes, we decided to change up our plans and make the wall ceiling to floor length. That was fun with a 1 year old.
Here's what we bought:
(Keep in mind your measurements will be different.)
4 - 10ft 2x4's
5 - 8ft 2x4's
3 - 8ft 1x8's (mantel)
4 - 6ft 1x6 (external studs + trim)
1-1x4
2 - 10ft lattice (trim)
+ shiplap to height
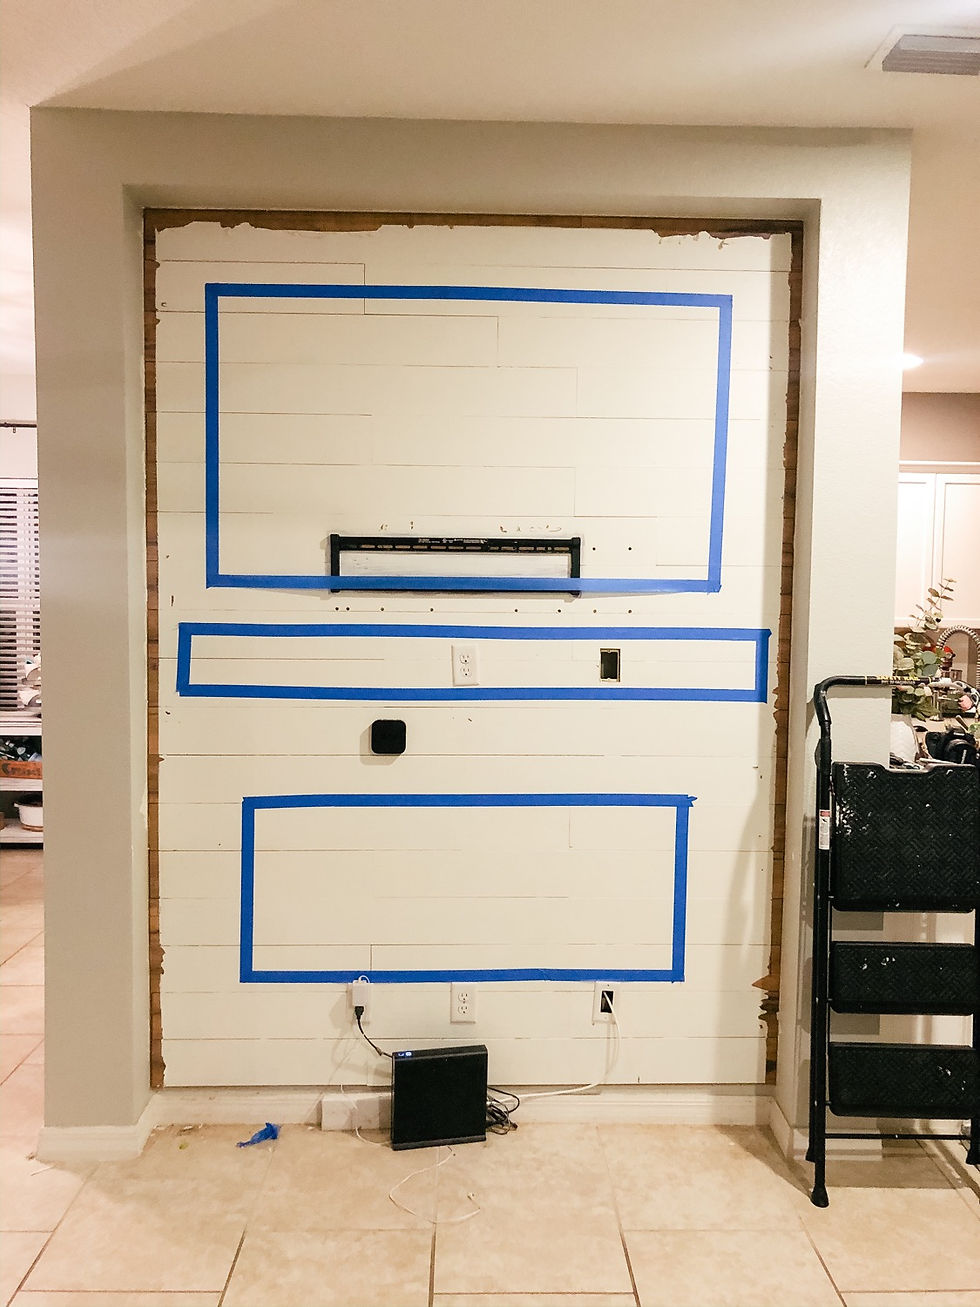
First I mapped out the wall with painters tape to get a visual of what we wanted or needed to change.
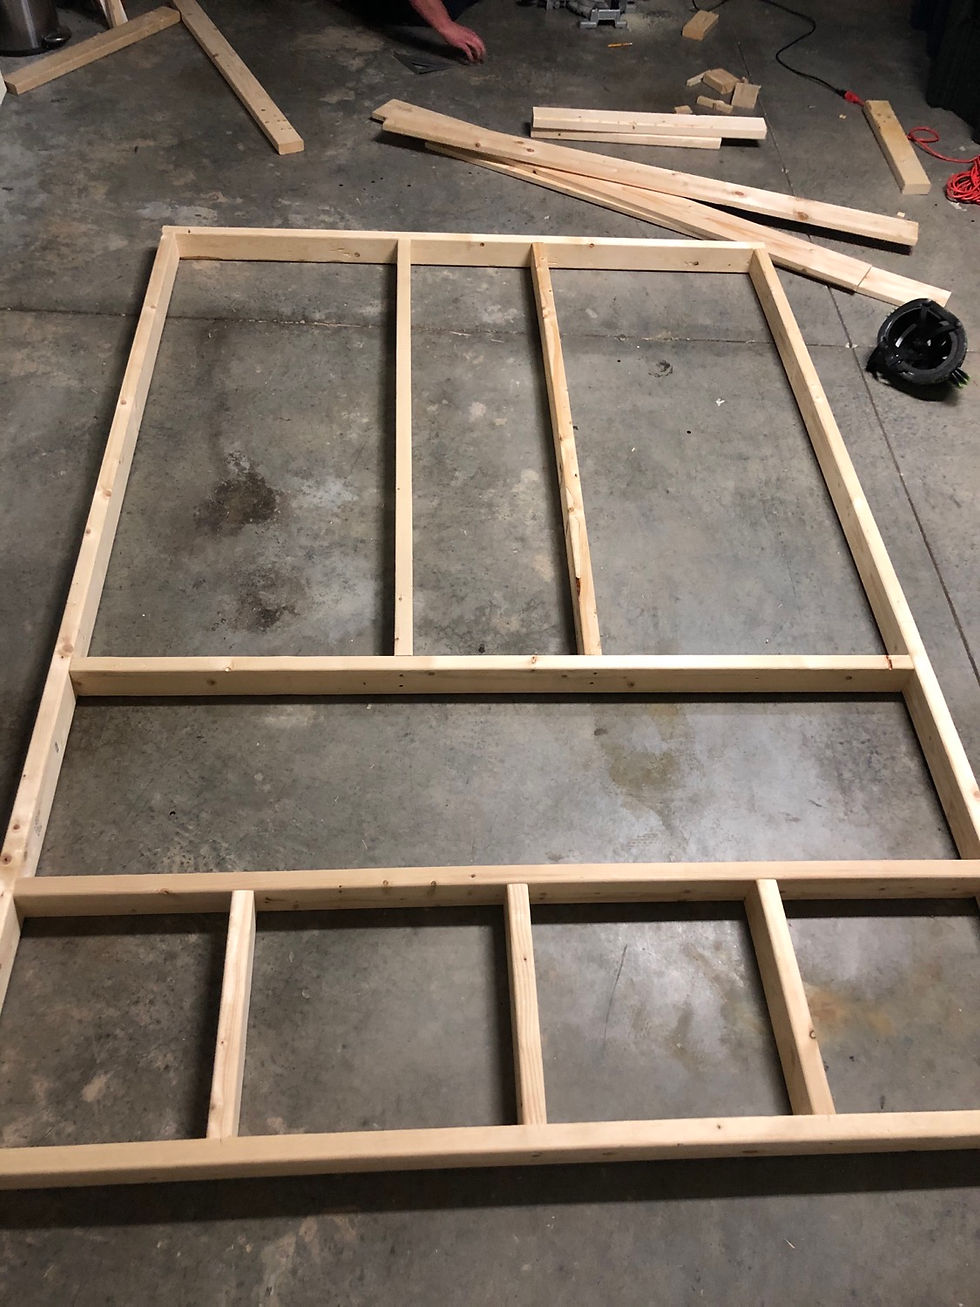
Then we built a wall in the garage. We used 2x4's and constructed a frame and cut to size. Everyone's will be different depending on the size of your ceilings. Also, we built ours into a wall that was already cut out so it wan't exactly to the ceiling And we didn’t need sides to our wall.
Next we installed the external studs (I made that up) essentially we drilled 4 pieces of 1x6 wood into the studs in the wall to serve as our new studs. We then inserted our wall from the garage and screwed it into the studs. We left a space in the wall the size of the fireplace we ordered.


Once our new wall was fastened onto the existing cut out wall, we started shiplapping from the top down using a nail gun to secure the wood on each piece of 2x4. This way we could make sure everything was flush and level.

We used 2 pieces of lattice to trim the sides, a 1x4 to trim the top and a 1x6 on the bottom. Then caulked and filled the holes in the shiplap with wood fill. Let it dry, and sand it down. PAINT! We used Sherwin Williams - Alabaster because this is the same white we use throughout our home.
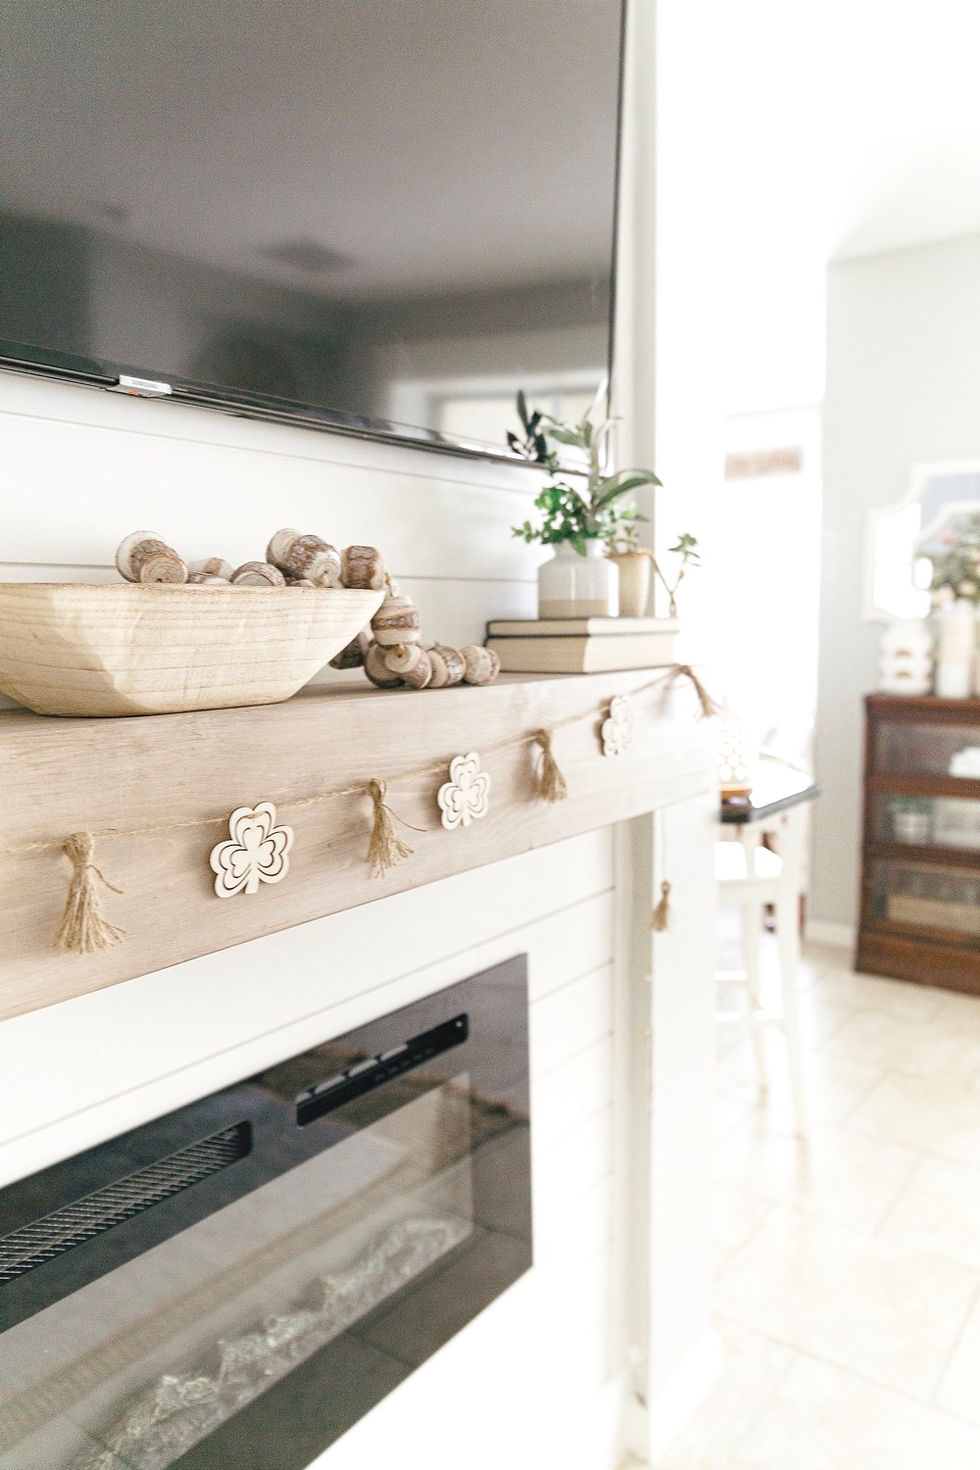
While we were waiting for the fireplace to arrive we made the mantel. This is going to be a little vague because my dad was helping us out and completed it while I was away. For images of the mantel in construction, check my fireplace highlights on my Instagram www.instagram.com/heycaitlyntorres

In a nutshell he cut the edges of one side of the 1x8's at a 45º angle. We didn't use the entire 8ft of wood for the mantel, we cut it to size, which I decided for our wall would be 66”. Nail them together with finishing nails. He cut out two 8x8 squares from the remainder of the wood, cut the angles on all four inner corners & fit the ends of the mantel, nailing it into place. This makes the mantel appear as if it was one thick beam. My dream!

I stained the mantel with white wash pickeling from Behr which dried SO FAST. Then I used Behr Cordovan Brown Semi Transparent on top of it. That also dried incredibly fast and is actually an outdoor stain and sealer so we didn't have to seal the wood.

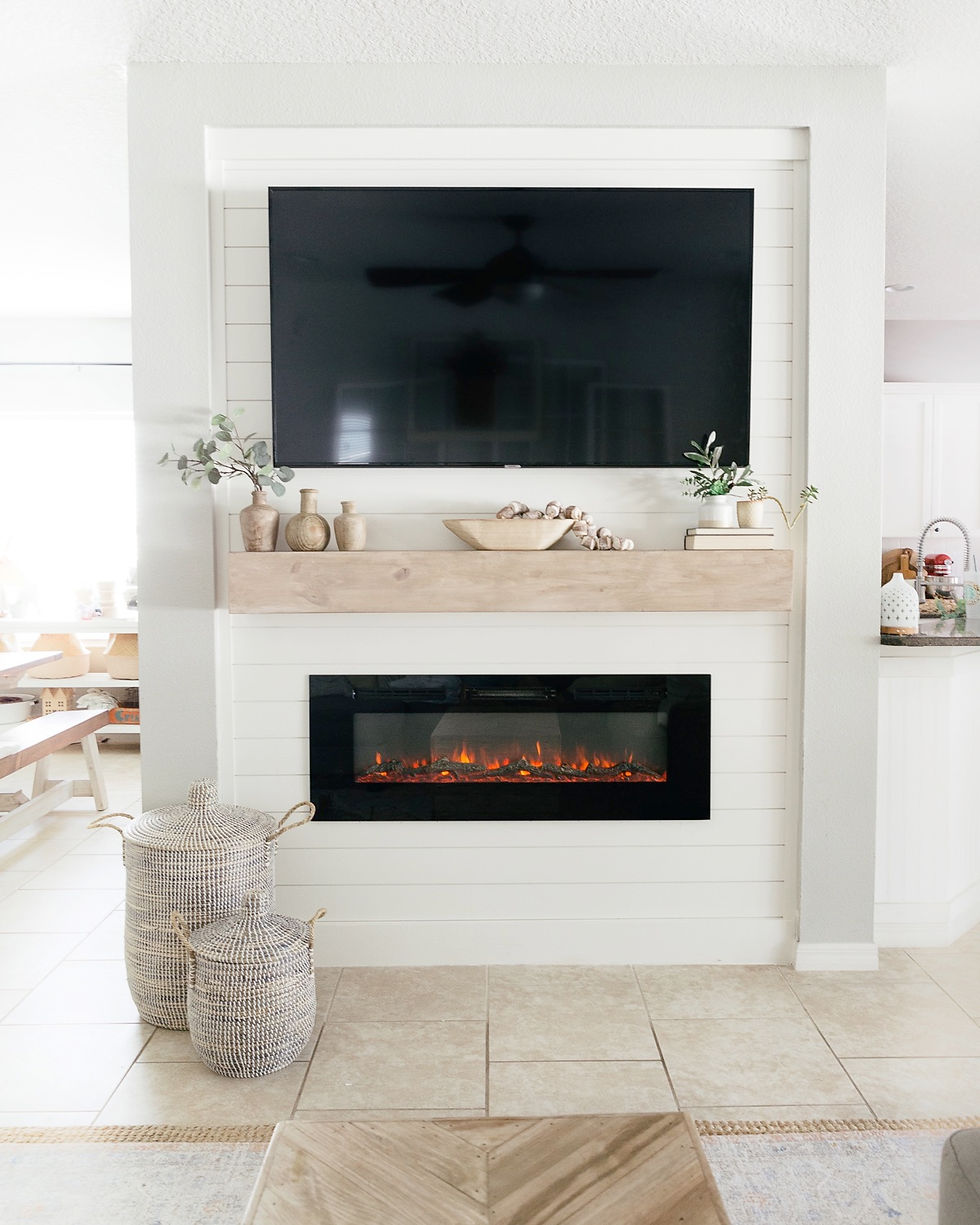
We measured the fireplace once it arrived and inserted two 2x4's on the side to secure it. Slide it in & then install the fireplace according to instructions. We went with this 50” fireplace. We love that it puts out controllable heat, changes color and intensity with the click of the remote.
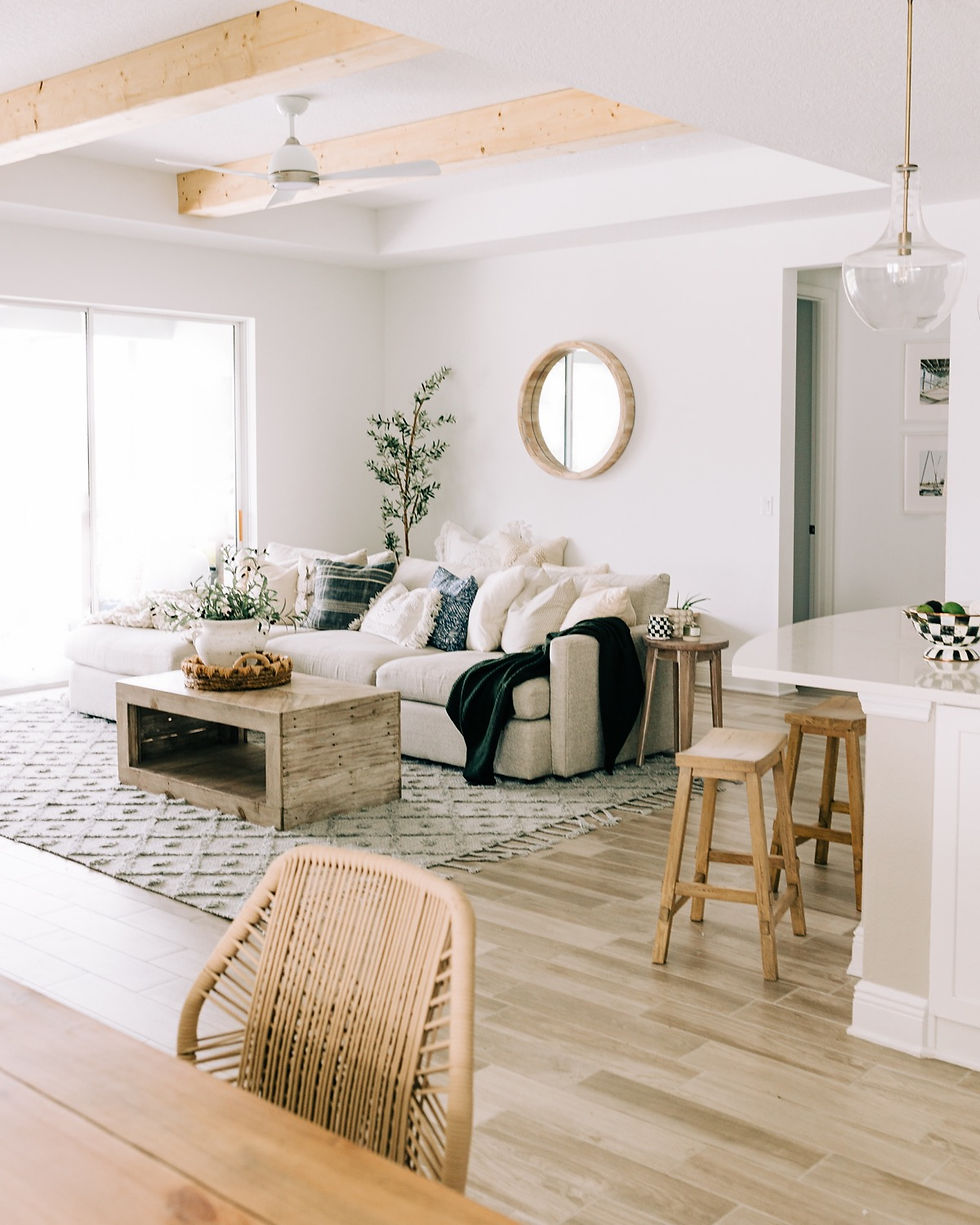
I'm so HAPPY with the outcome! Something we will absolutely treasure for years to come.


Our mesurements:
Mantel: 66" long
Wall height: 102.5"
Floor to bottom of fireplace: 18.5"
Floor to bottom of mantel: 45"
TV is centered between the frame and mantel: 10" from top of frame and 10" to top of mantel
With grace & gratitude,
Caitlyn


Comments